Third & Fourth Grade Self Portraits
Between the first and third weeks of school, it’s a great idea to give 3-4th graders a chance to express themselves, use paint, and show themselves to each other in the way they wish to be seen. This simple project was a great way to begin looking at proportions of the face, using tempera or acrylic paint, and to get to know one another in the first week of school.

Photo by Amauri Mejía on Unsplash
OBJECTIVES
In this project, students should learn to…
Draw their face with correct proportions, using the guidelines
Sketch our details of their appearance using their mirrors and their imaginations
Layer using tempera/acrylic paint and paintbrushes
Care for and clean brushes and paint palettes, using paint responsibly together
SCAFFOLDING
Students should already be familiar with the following before doing this project. However, you can also teach them these things along the way, as necessary.
Color wheel
Primary, Secondary, and Tertiary colors
Basics of color mixing
How to care for paintbrushes and paint
Basics of value study (lights and darks)
MATERIALS
Each student will need…
Brushes of different sizes and styles (at least flat and round brushes)
Piece of A4 or A3 mixed media paper (a bit bigger than A4 is preferable)
Tempera or acrylic paint
Cup with water
Paper towels
Paint palette
Plastic plate/something to mix paint on

Photo by Kelli Tungay on Unsplash
PROCESS
The following process may take days, or maybe a whole week. Depending on the length of your class, you can get to painting in one class. When I did this project, it took a week. Drawing took 45 minutes. Painting took three 45-minute class periods. This is because you always have to prep materials and then take about ten minutes at the end to clean up.
Drawing
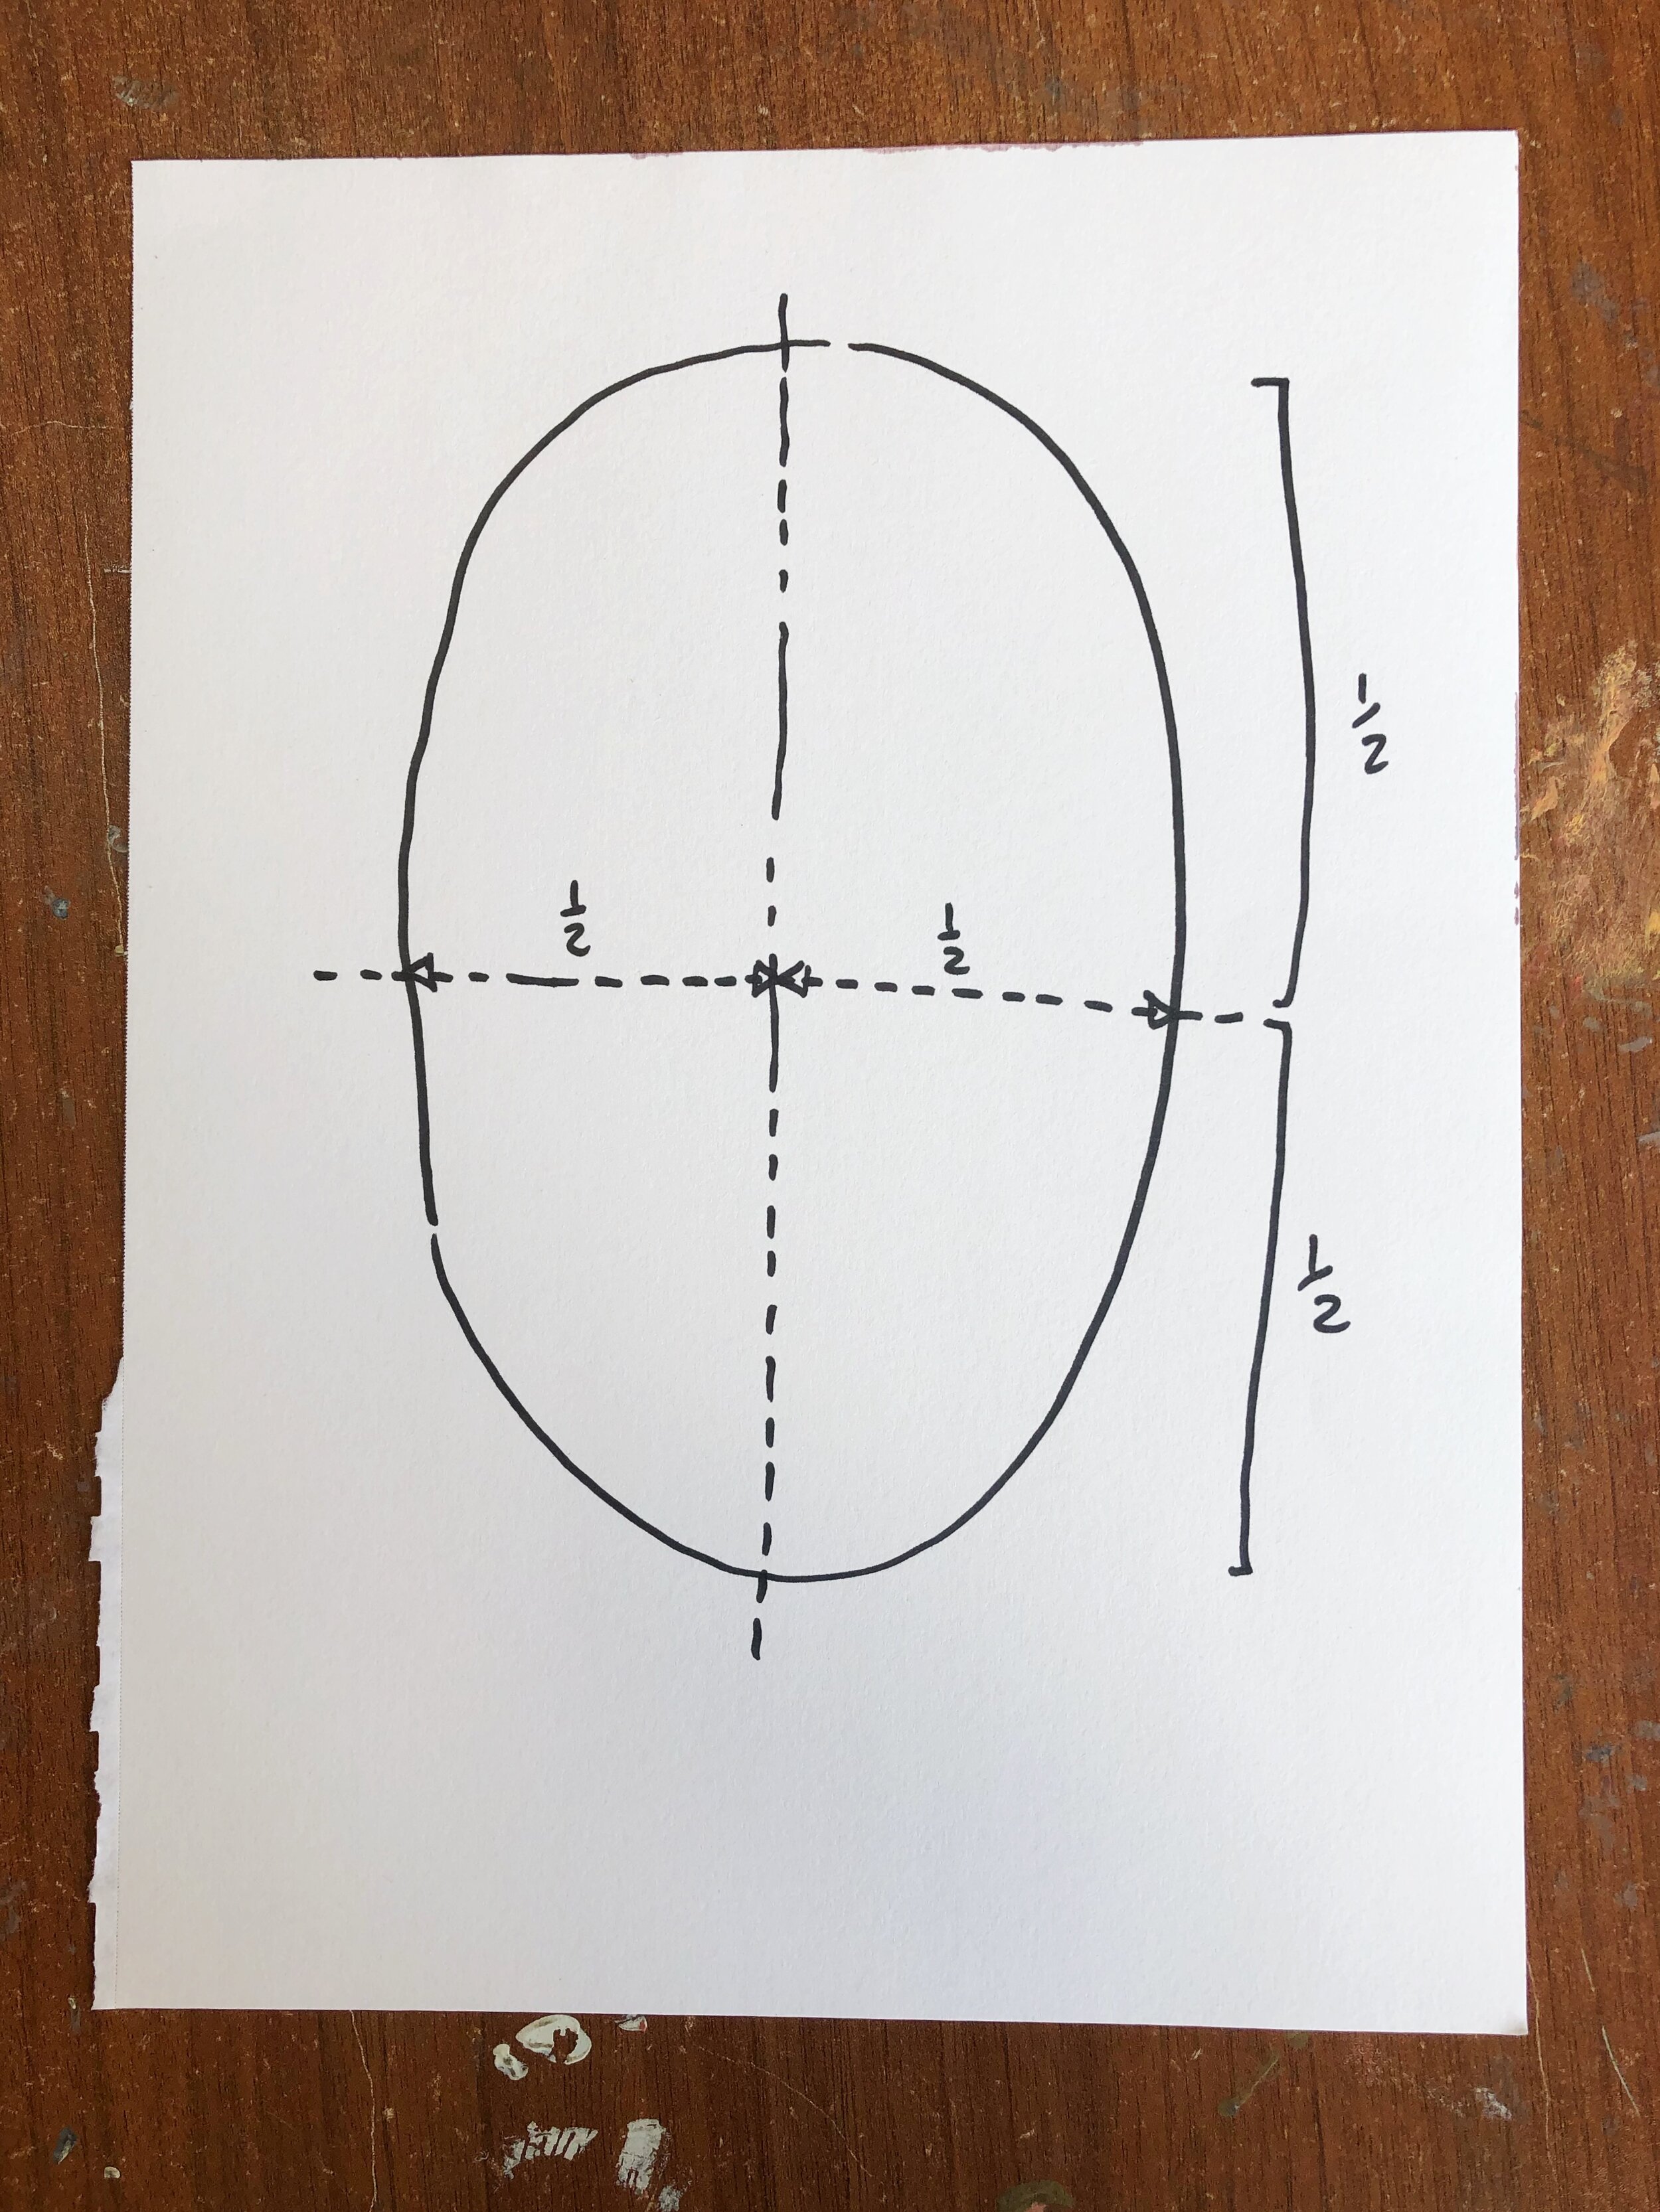
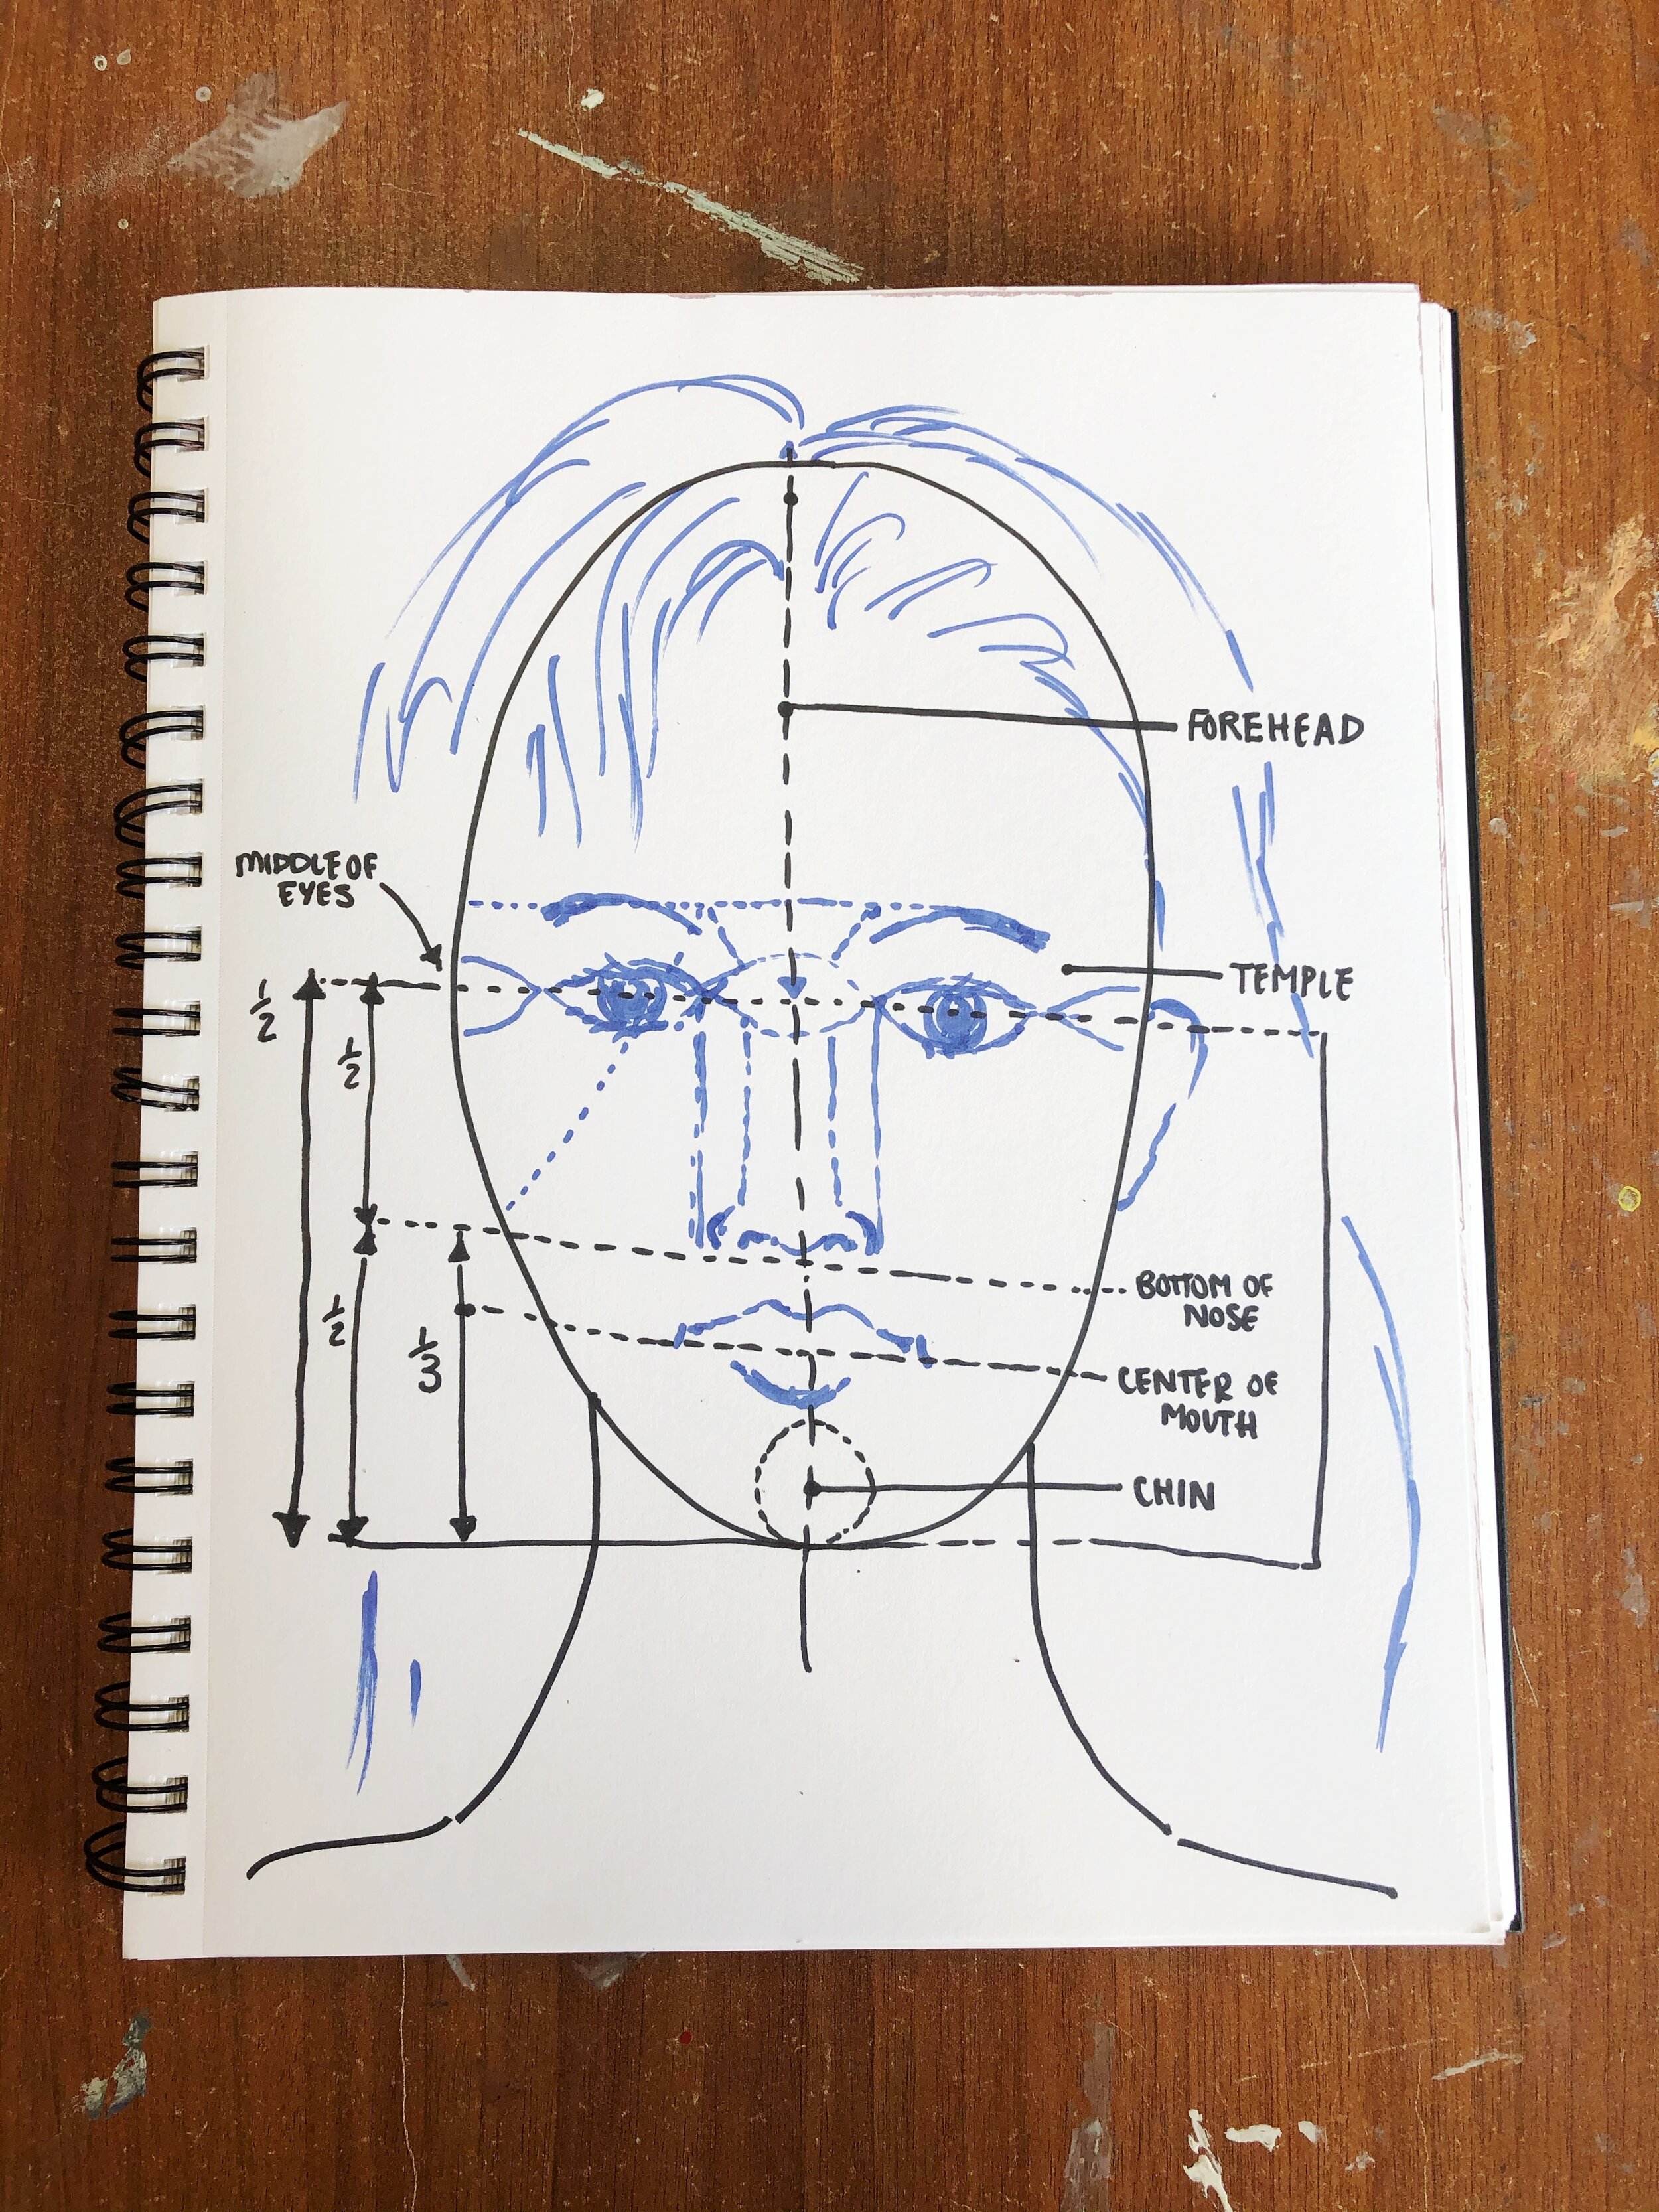
First, introduce them to proportions of the face. I draw my own diagram (below) that I think is simple and helpful. The biggest things that surprise kids are:
how BIG our foreheads are
how small our eyes are
how big noses are
how hard teeth are to draw
how thick necks are
Take time to sketch and erase, draw lines, and fill in the details. Don’t overly focus on features being incorrect sizes. Focus on whether they are drawing the guiding lines right and following them
After they draw their eyes, mouth, and nose, tell them to draw the ears, neck, and then finally: hair.
I always like to mention that hair should poof a little bit ABOVE the head line. Remind them that hair doesn’t slick real close to your head usually.
Let them add the shirt and any fun details (earrings, necklaces, hair things…collars or bow-ties, etc.
While they finish up drawing, be prepping for paint by filling and handing out palettes, distributing brushes and water cups, and making sure there are paper towels accessible.
Painting
Introduce tempera or acrylic paint with the following tips
Paint in thin layers (show them an example of a globby layer (not good) and a thin, balanced layer (good)
Paint your light colors before your dark ones
Mix your colors on the plastic plate before painting on your paper
Steps
First, you are going to paint your neck.
Help them mix their particular skin tone if they need help.
Tell them you will need a mix of white and red, and maybe some blue. Mix on the plastic plate
Next, we will do your face.
Remind them that your face may be a bit lighter than the neck, because it is not in shadow.
Then, while the paint on your skin tone dries, do the background.
Ask them: what color(s) represents who you are?
What’s your favorite color?
Tell them to use a bigger brush for this, because you need BIG STROKES
Once your skin tone layer is dry and you are done with the background, let’s work on your facial features.
encourage them to start with light colors first (the white in the eyes, highlights on your nose, etc.
then go to the darks, and then the darkest darks (the pupils…)
Next, we’ll work on the shirt.
Let them be creative with this one— whatever they want. A princess dress? Batman suit? Go for it.
If they need a sample image, you can pull one up on a Chromebook or your own computer, that’s always great. If possible, print sample images for the kids
Last, we’ll do your hair.
Remind them that hair is never just one color, but many…
How many colors are in your hair? How many colors do you see in my hair?

Photo by Ubu Komarova on Unsplash
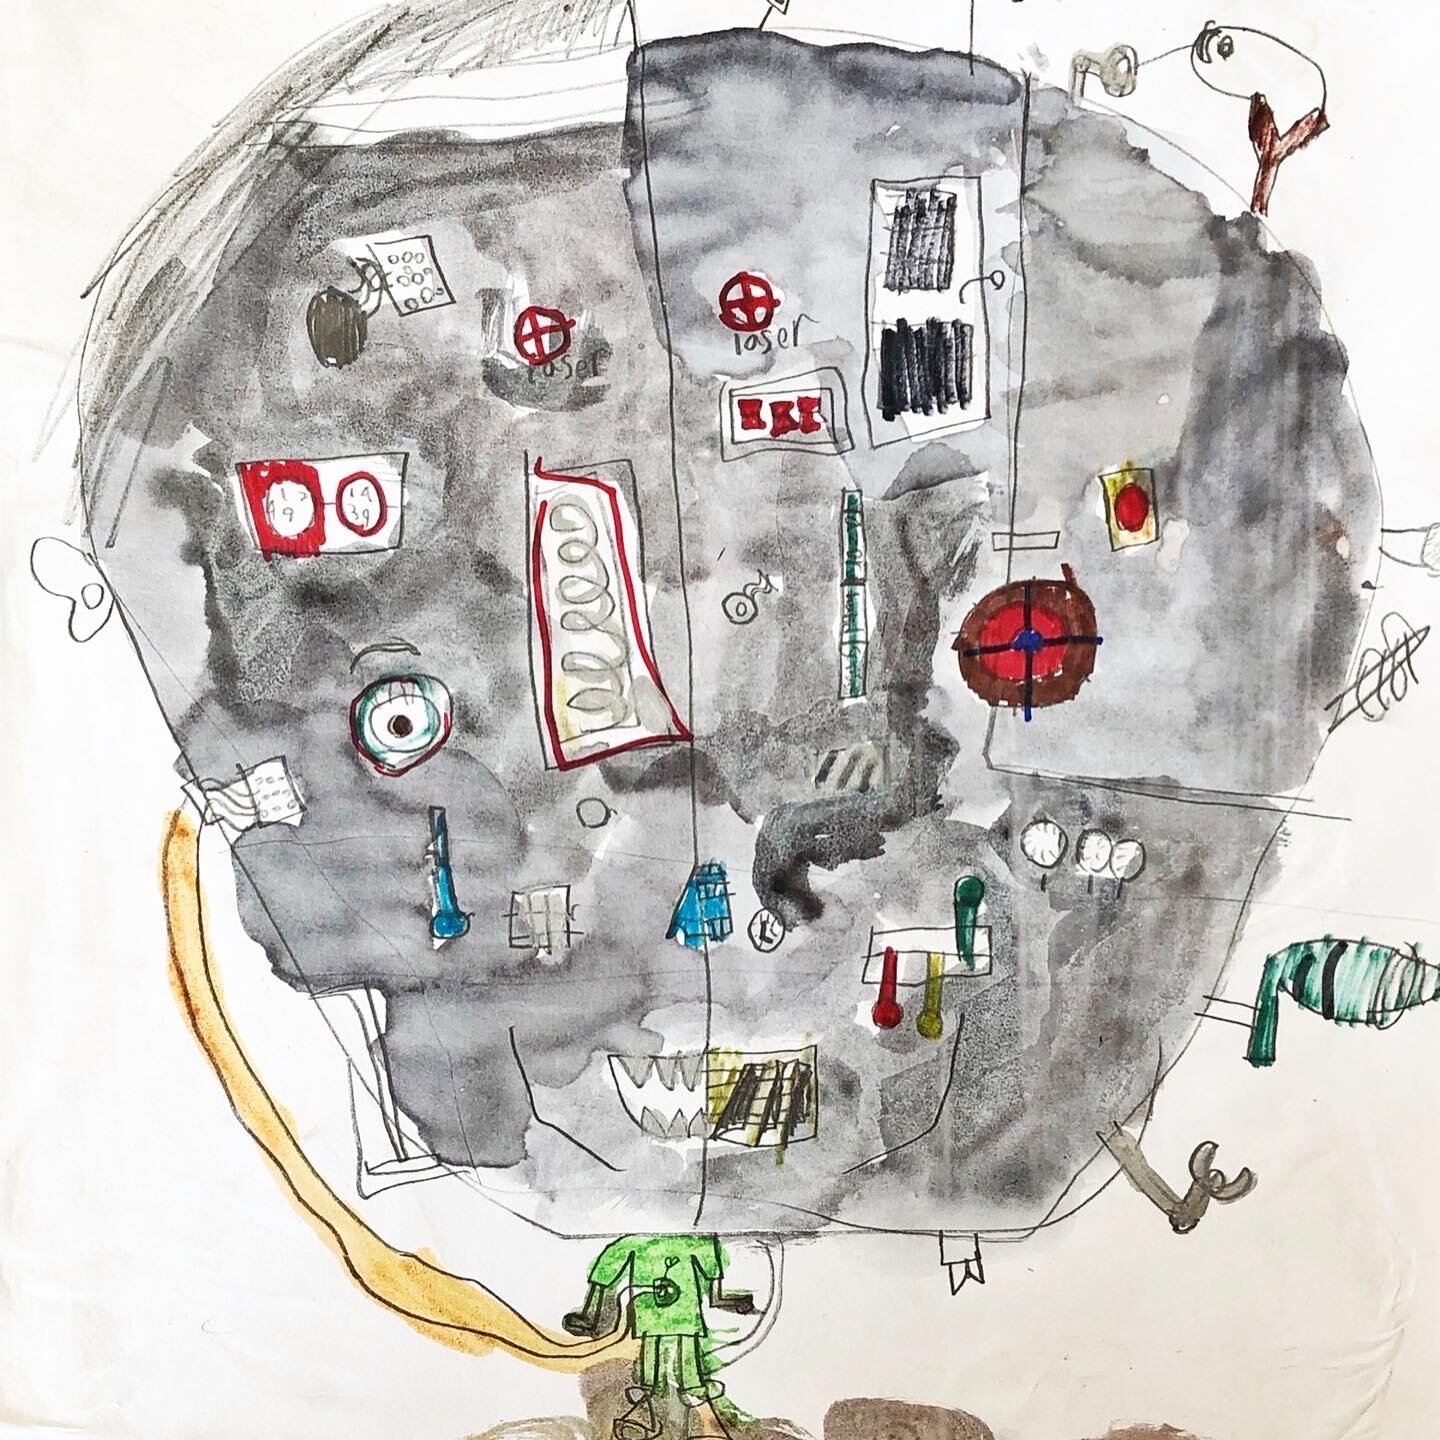
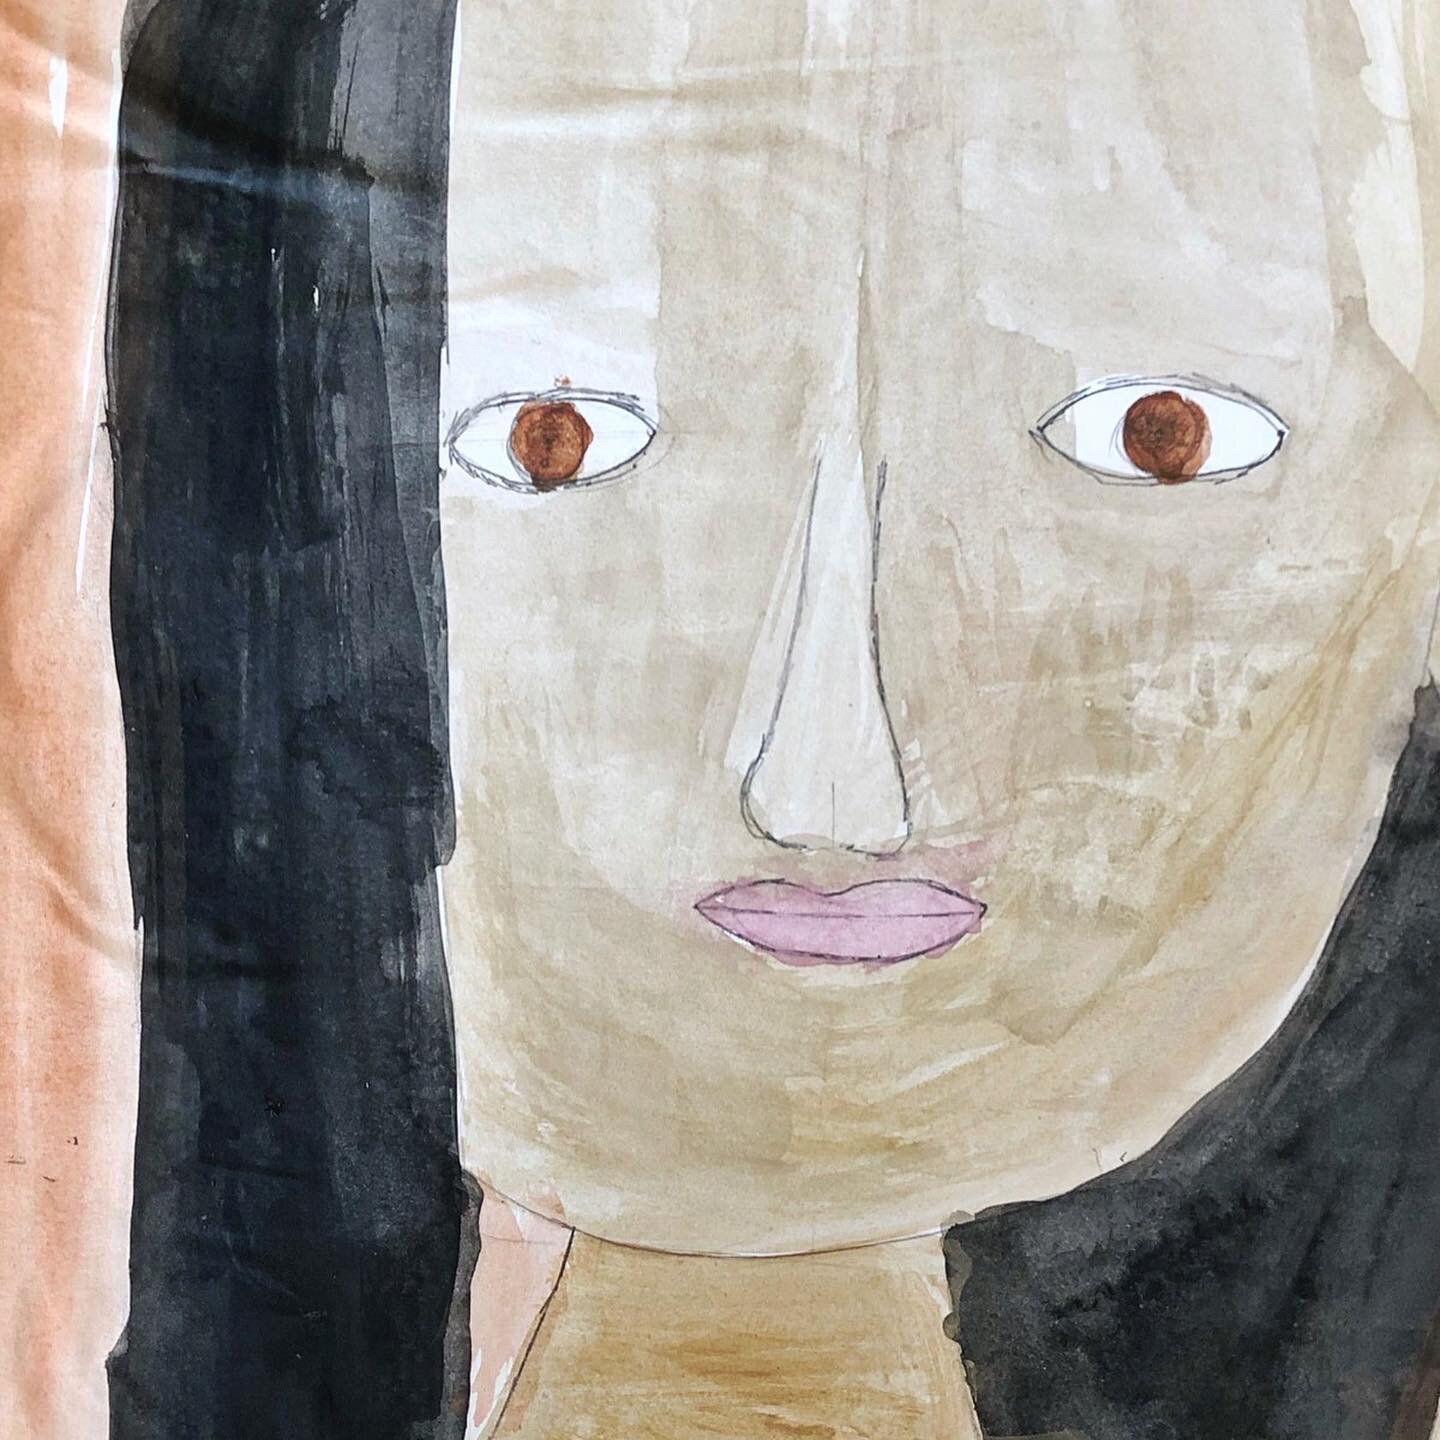
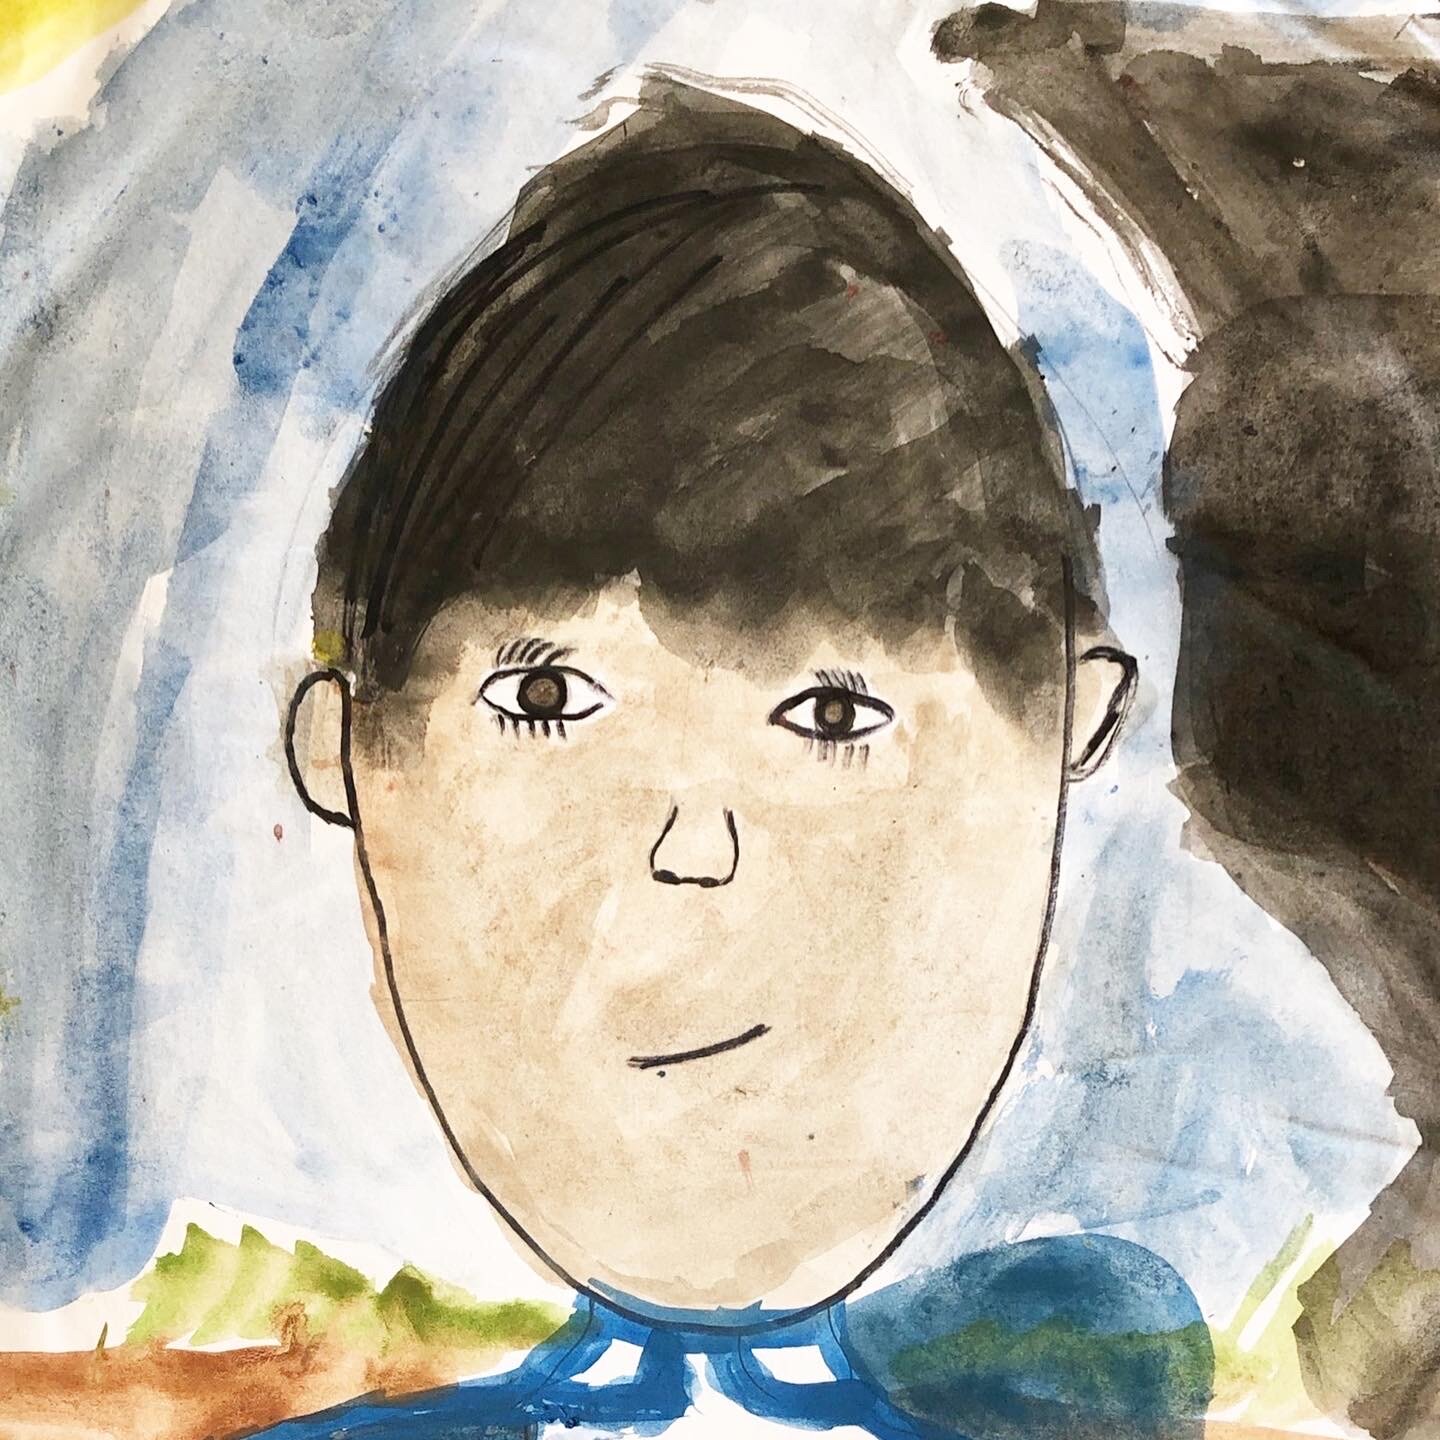
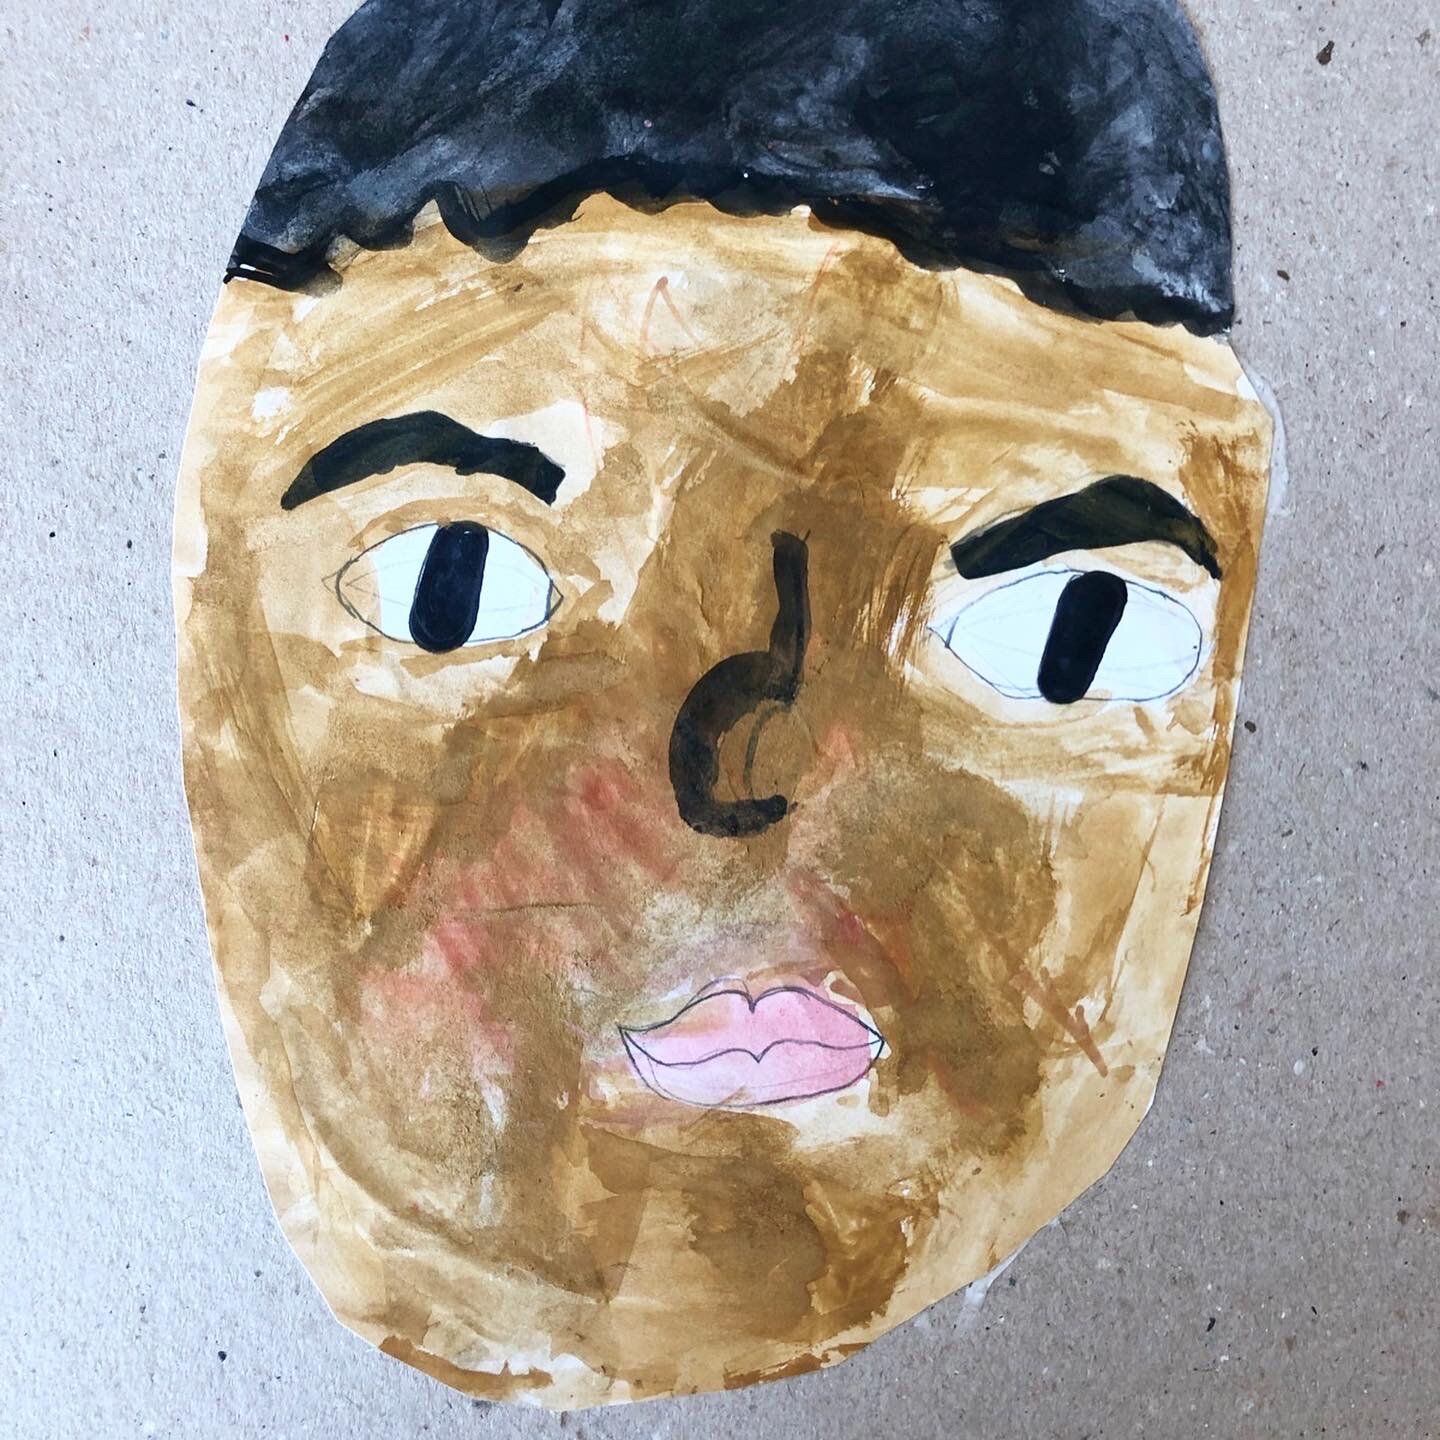
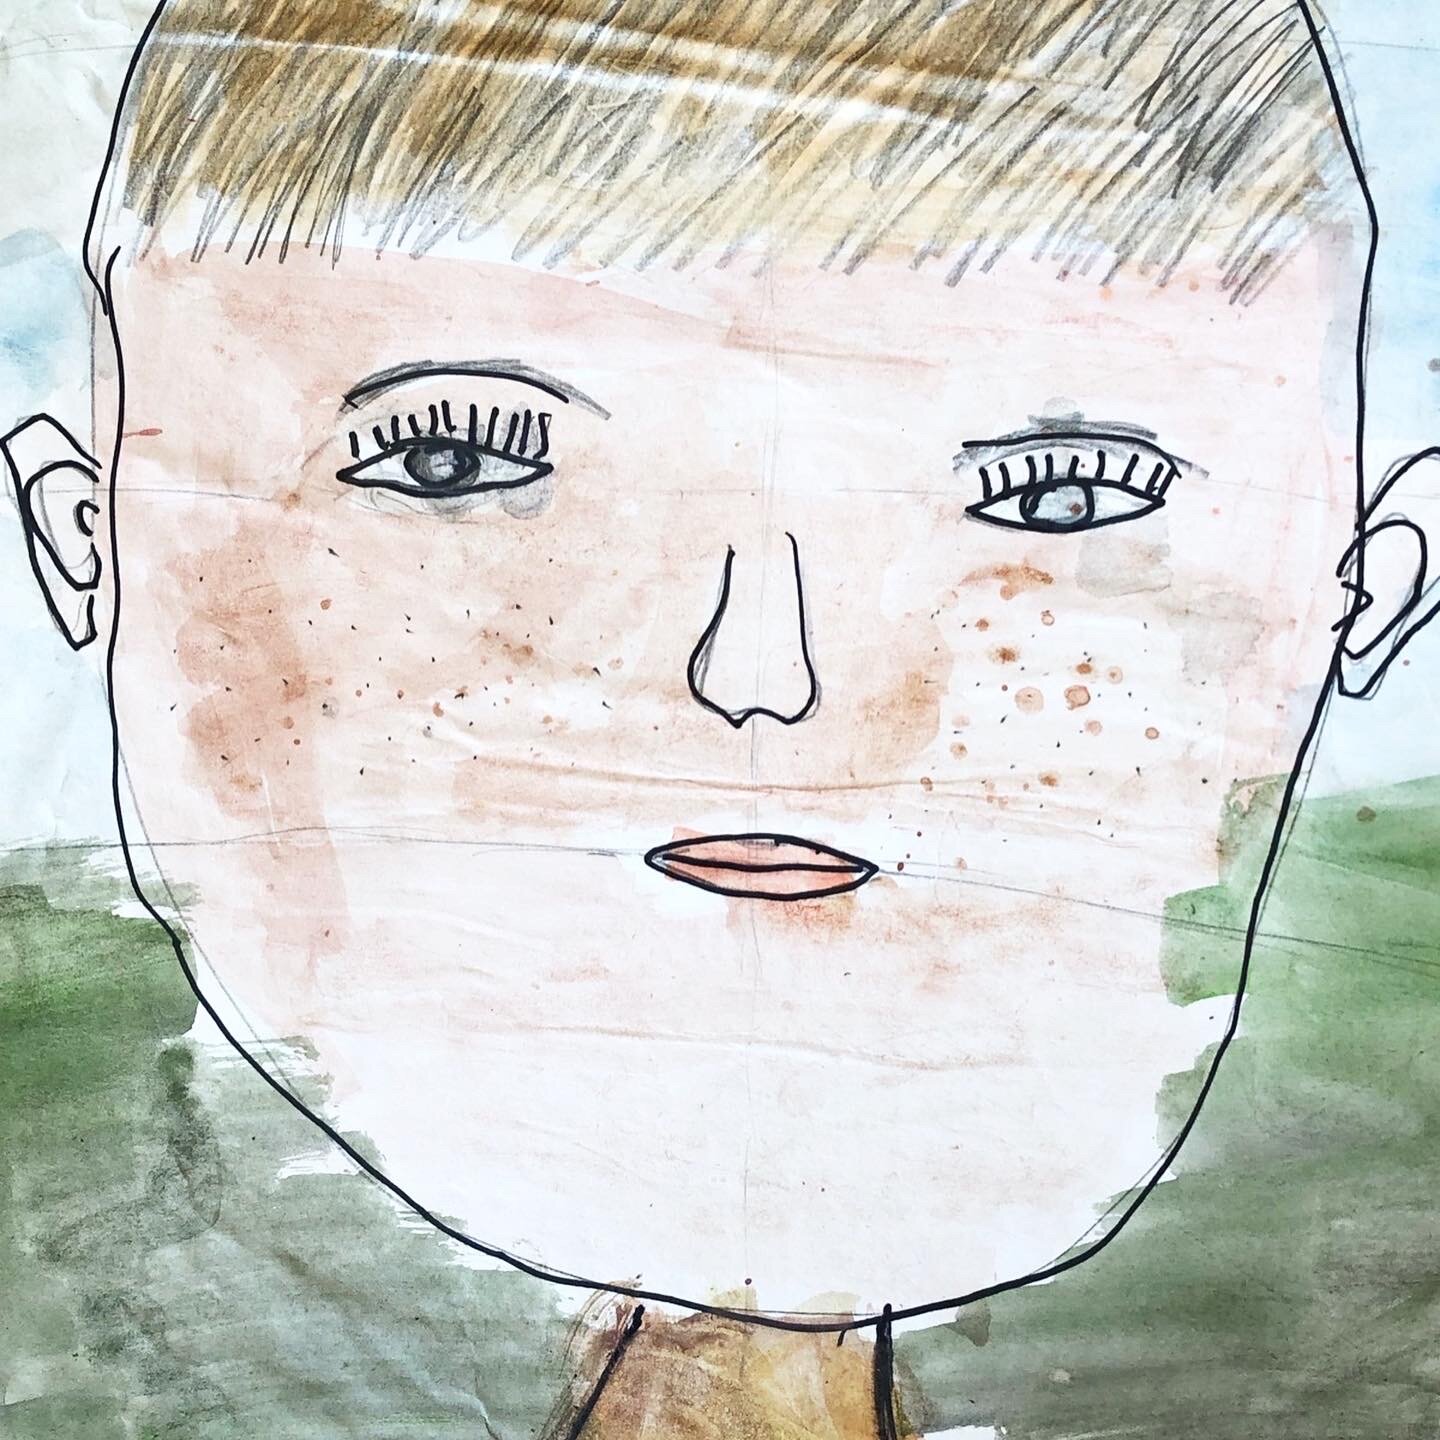
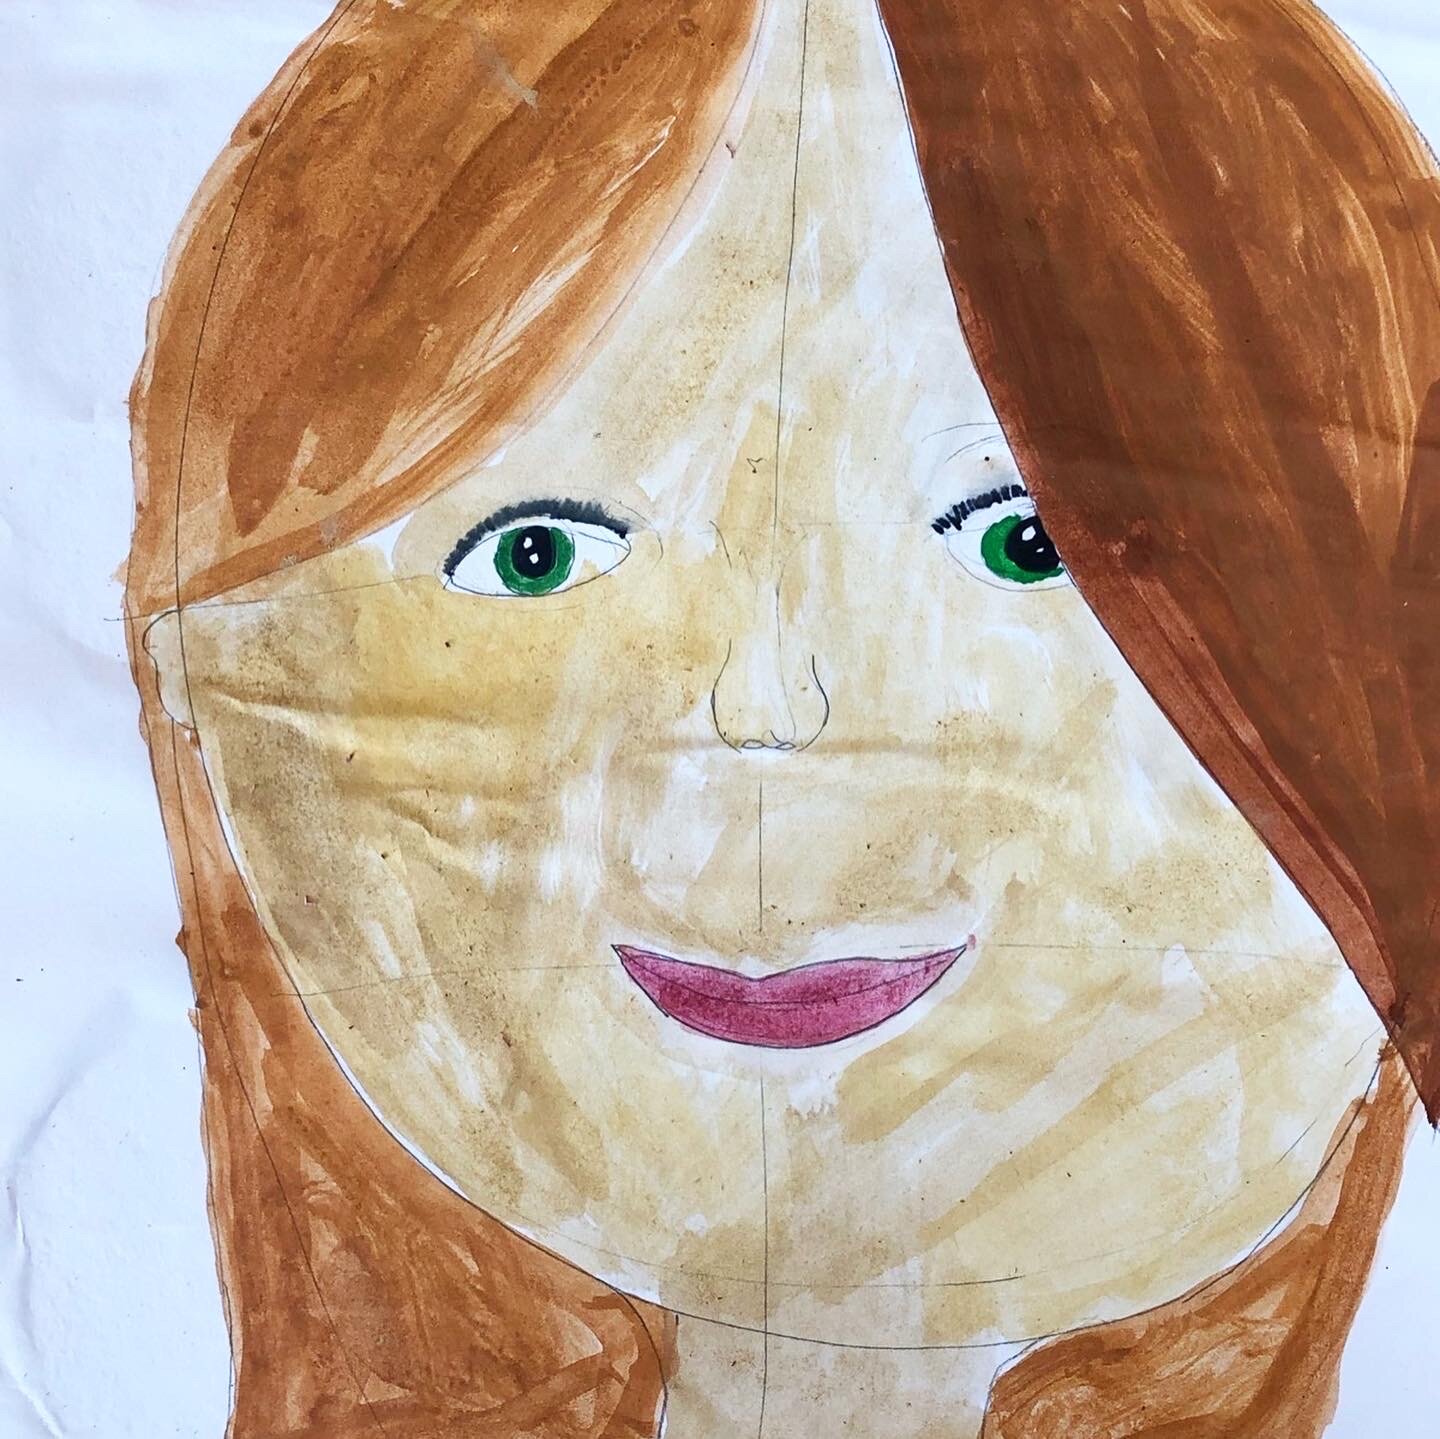
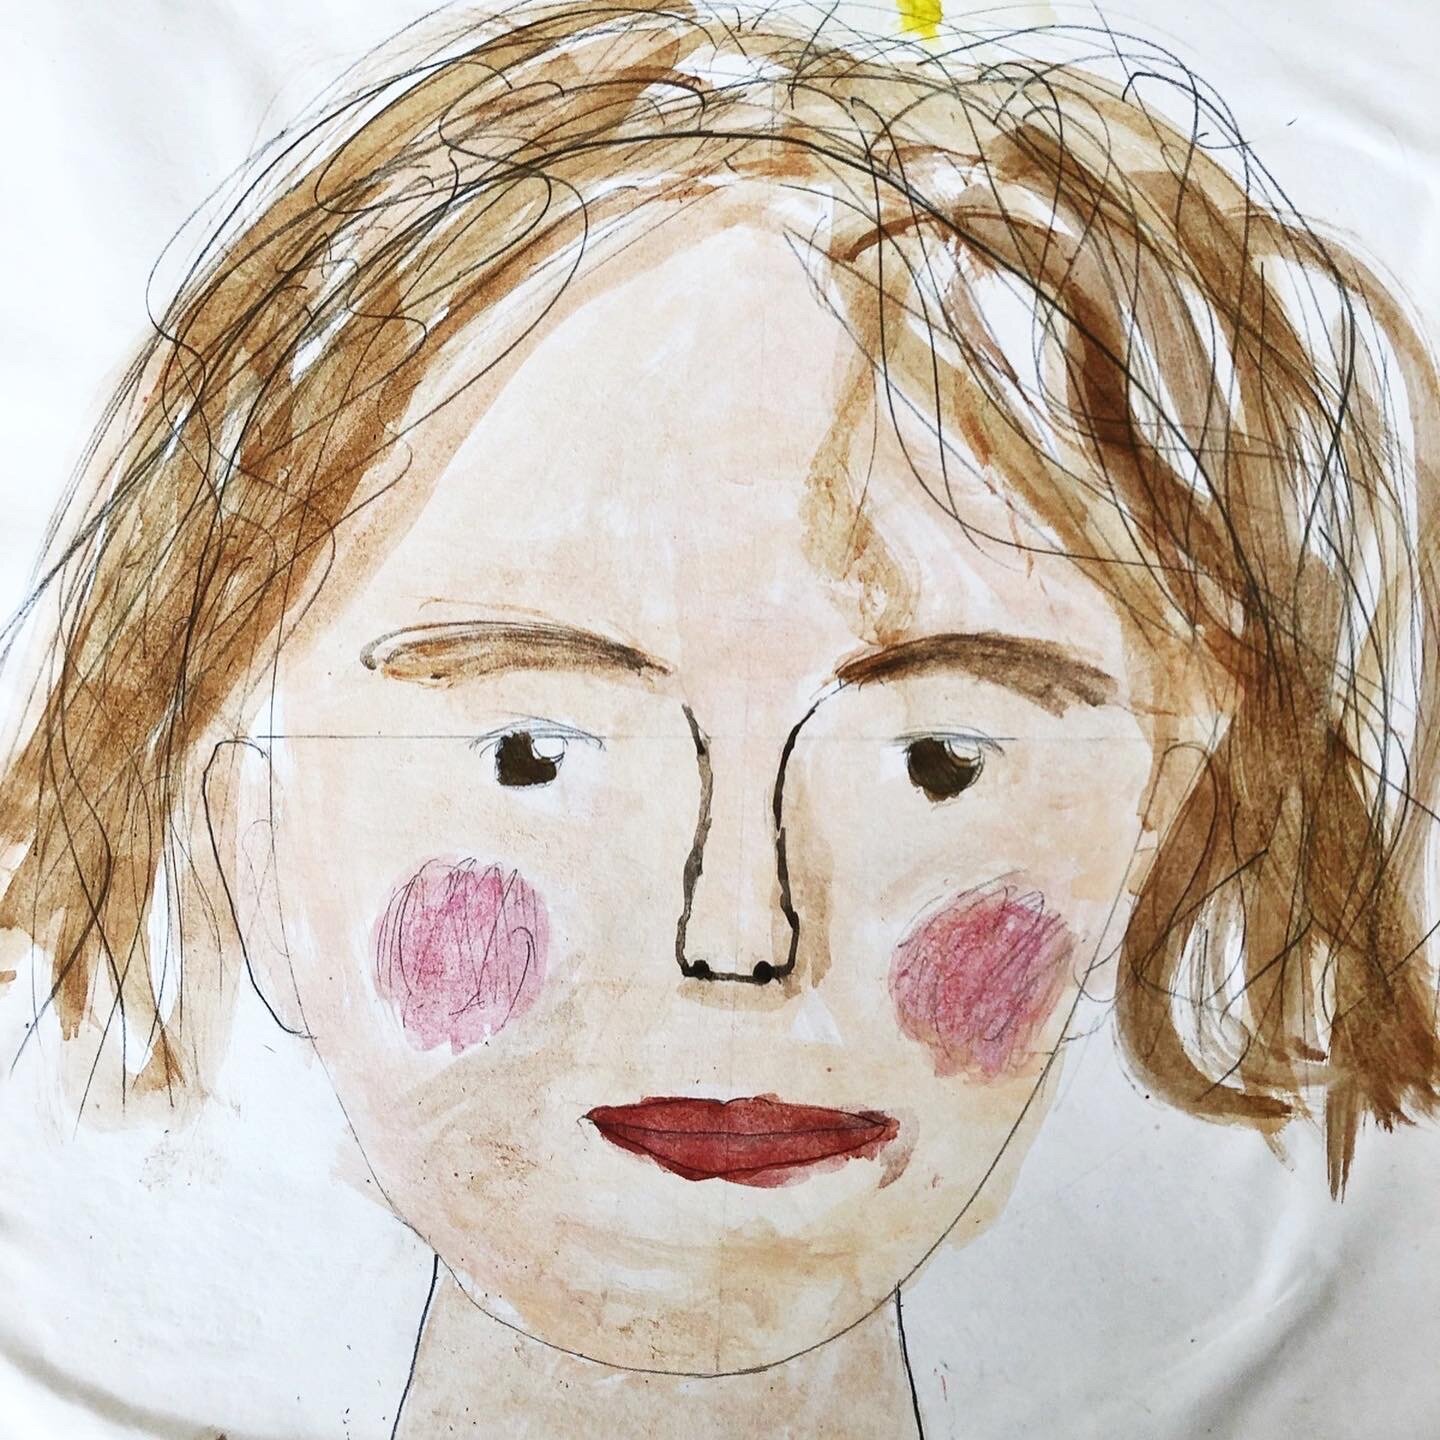
Student Examples
Here are our results! We see some steam punk inspiration and other creative licenses given, and all in all some very telling and fun self portraits! One girl said, “I’ve never been able to draw a face this realistically!” She felt so accomplished. It was wonderful.